
The Air Tightness Testing Process: Step-by-Step Guide
If you’re building or converting a property in the UK, you may be legally required to carry out air tightness testing to comply with Building Regulations Part L. This test plays a vital role in measuring how energy-efficient your building is by checking for unwanted air leakage. In this article, we explain the Step-by-Step process.
🏠 Why Is Air Tightness Testing Important?
Air tightness testing—also known as a blower door test—is used to measure the amount of uncontrolled air leakage from a building. It plays a critical role in:
-
Meeting Building Regulations Part L
-
Improving energy efficiency
-
Complying with SAP Calculations
-
Achieving a strong EPC rating
At Assessment Hive, we help homeowners, developers, and contractors across the UK complete this essential step with confidence. Below, we break down what to expect during the air tightness testing process, from start to finish.
✅ Step-by-Step: The Air Tightness Testing Process
Step 1: Initial Preparation
Before we arrive on site, ensure:
-
All external doors and windows are installed and closable
-
Skirting boards, sockets, pipework, and service penetrations are sealed
-
Loft hatches are installed and closed
-
Wet trades (like plastering or screeding) are completed and dry
🔗 Read: How to Prepare for an Air Tightness Test
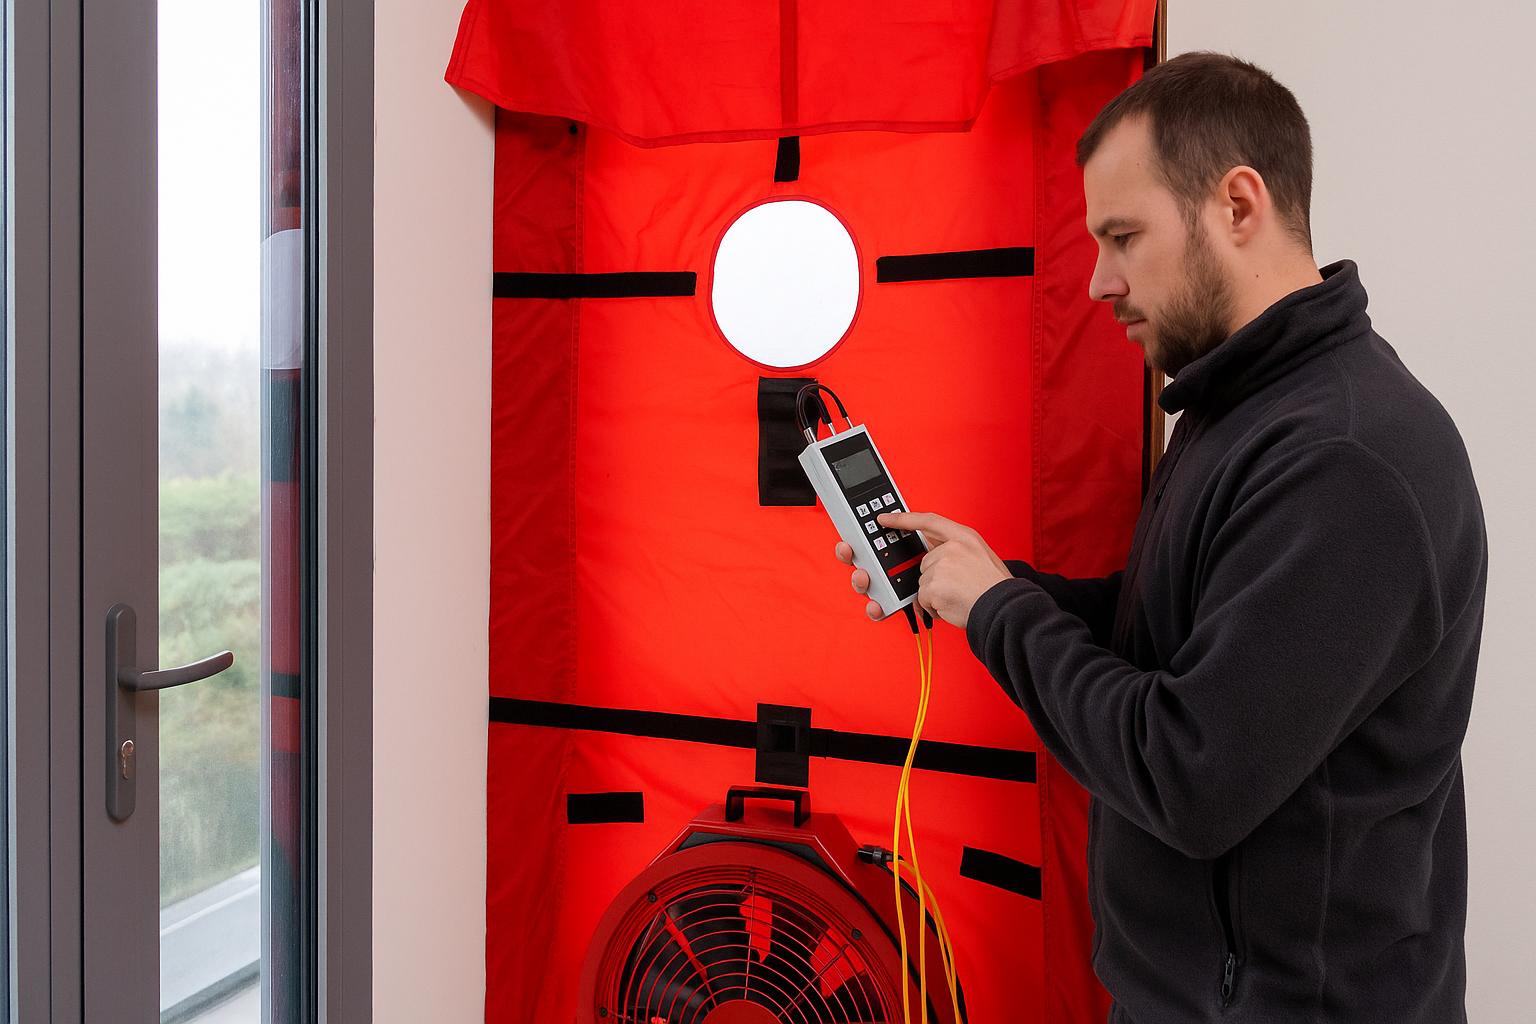
Step 2: Installing the Blower Door Equipment
Our qualified technician will:
-
Fit a temporary blower door fan into an external doorway using an airtight frame and canvas
-
Set up a manometer (pressure gauge) to measure airflow
-
Connect monitoring equipment to record pressure differentials
This setup allows us to create a controlled environment to test air leakage.
Step 3: Pressurising the Building
We will use the fan to pressurise and depressurise the building (usually to 50 Pascals), simulating the effects of wind pressure on the building envelope.
We measure:
-
The volume of air leaking through the building fabric
-
The air permeability rate (measured in m³/h·m² at 50 Pa)
This value is critical for your SAP Calculation and compliance with Part L of the Building Regulations.
Step 4: Detecting Air Leaks (If Needed)
If you’re not achieving the desired result, we can assist in identifying leakage points using:
-
Smoke pencils
-
Thermal imaging
-
Visual inspection
Common leakage areas include:
-
Around windows and doors
-
Floor and wall junctions
-
Behind kitchen units or bath panels
-
Loft hatches and pipe penetrations
🛠️ We can advise on remedial measures to help you pass retesting if needed.
Step 5: Calculating the Result
Once the test is complete, we calculate:
-
The air permeability result in m³/h·m²
-
Whether the result meets the target set in your SAP assessment
If you meet or exceed the target — great! If not, we’ll discuss next steps.
Step 6: Issuing the Certificate
We provide:
-
A test certificate (valid for Building Control)
-
A digital report with detailed results
-
Same-day turnaround in most cases
You’ll need this certificate for your Energy Performance Certificate and final SAP Report.
💡 Top Tips for Passing First Time
-
Engage your SAP assessor early in the design process
-
Prioritise quality sealing around service penetrations
-
Use airtight membranes and quality installation techniques
-
Book a pre-test inspection if you’re unsure
→ Contact us for advice or to arrange your test.
🔧 Need a Fast, Professional Air Test?
At Assessment Hive, we make the Air Tightness Test process straightforward. Our team works with homeowners, architects, and builders nationwide to provide quick, accurate assessments and practical advice to achieve compliance.
 Fast turnaround Competitive pricing Remote, nationwide service
 Call us on 020 7183 3240
 Email us at [email protected]
 Request Instant Quote → Click Here


